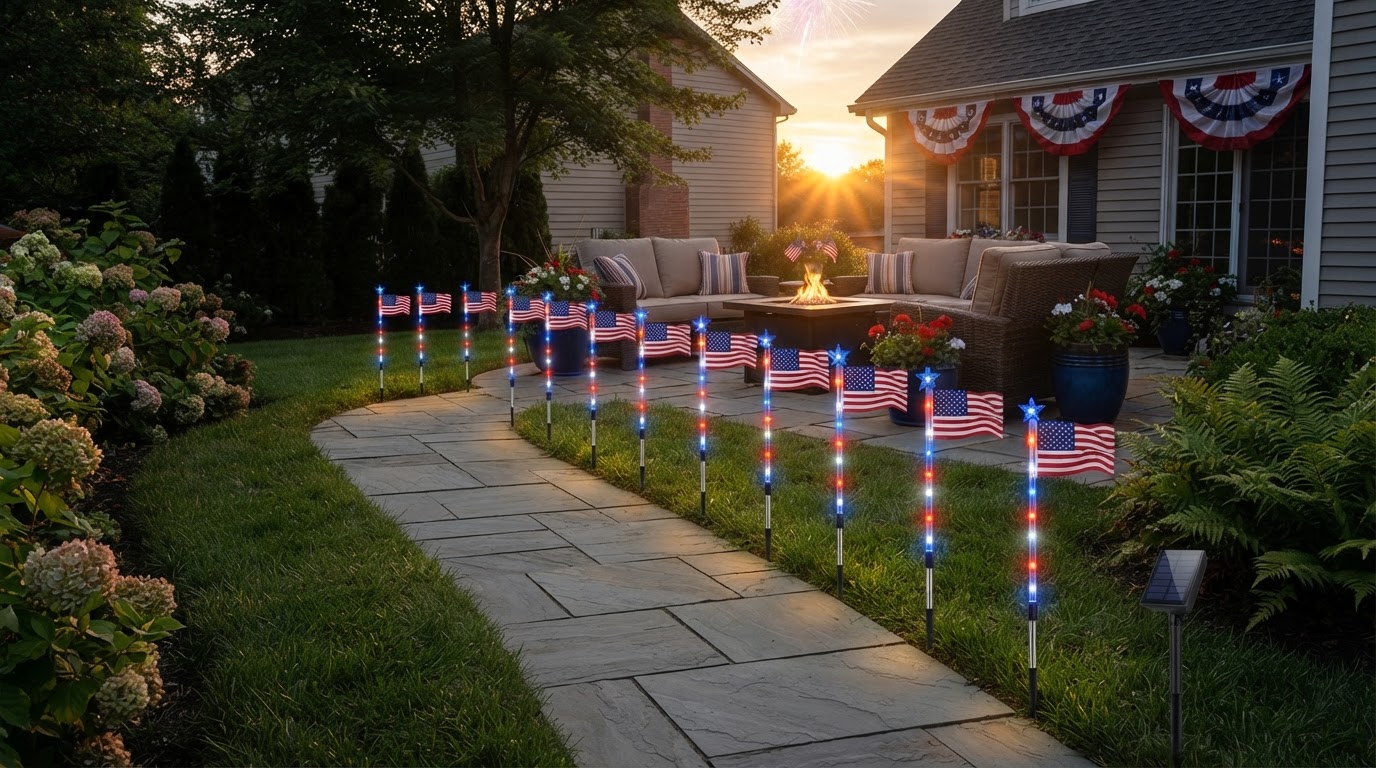
How to Install Solar Patriotic Pathway Lights in 4 Easy Steps
Installing seasonal yard lighting can be accomplished in minutes without tools, electrical wiring, or technical skills. Follow this simple 4-step installation guide to set up your solar pathway display. To review overall design concepts before installing, refer to [the main guide].
Step 1: Select and Unpack Your Installation Spot

Choose an outdoor location along your walkway, driveway, or garden bed that receives unobstructed direct sunlight during daylight hours. Unpack your 8-in-1 American Flag Solar Light Set and verify that all stakes and ground connectors are accounted for.
Step 2: Prepare the Soil for Ground Stakes

Examine the ground where stakes will be placed. If the lawn or soil is dry and hard, moisten the area slightly with water to soften the earth. Avoid hammering or forcing ground stakes directly into hard dry clay to prevent damage to the stakes.
Step 3: Insert Light Stakes and Position Solar Collectors
Push each stake firmly into the ground until secure. Align the solar panel surfaces facing upward toward open sky to maximize daytime charge efficiency. Because these lights are Solar Powered (No electricity cost), no wiring or outlets are required.
Step 4: Select Lighting Modes and Test Dusk-to-Dawn Functionality
Locate the mode selector switch on the light housing. Choose your preferred setting from the 8 Dynamic Lighting Modes. Once set, the integrated Automatic dusk-to-dawn operation will automatically illuminate your vibrant Red, White, and Blue LED colors as dusk approaches.
Read the full guide: The Ultimate Guide to Patriotic Outdoor Decor Ideas for Your Yard